What exactly is 3D printing all about? Often depicted as a futuristic marvel in mainstream media, understanding the technicalities behind this technology can be a bit murky. In essence, 3D printing encompasses various technologies, with fused deposition modeling (FDM) standing out as one of the most prevalent methods.
FDM operates by utilizing thermoplastic filament, essentially a plastic cord capable of being melted, strategically deposited, and then cooled layer by layer to form a complete model.
Originally conceived as a means to swiftly prototype parts, FDM remains a leading method for rapid prototype production. Over time, its utility has expanded to encompass manufacturing applications as well.
Before delving into the intricacies of FDM, it’s important to note that some sources might interchangeably use the term “FFF” (fused filament fabrication) instead of “FDM”. This discrepancy arises from the initial trademarking of “FDM” by Stratasys. Nonetheless, both terms refer to the same technology. For simplicity, we’ll predominantly use “FDM”.
Let’s dive into the mechanics of FDM!
Understanding the Process

To grasp FDM’s operation, it’s helpful to familiarize oneself with the components of an FDM 3D printer. These printers typically operate on three axes: X, Y, and Z. The X- and Y-axes govern lateral movements, while the Z-axis handles vertical motion.
Key Components
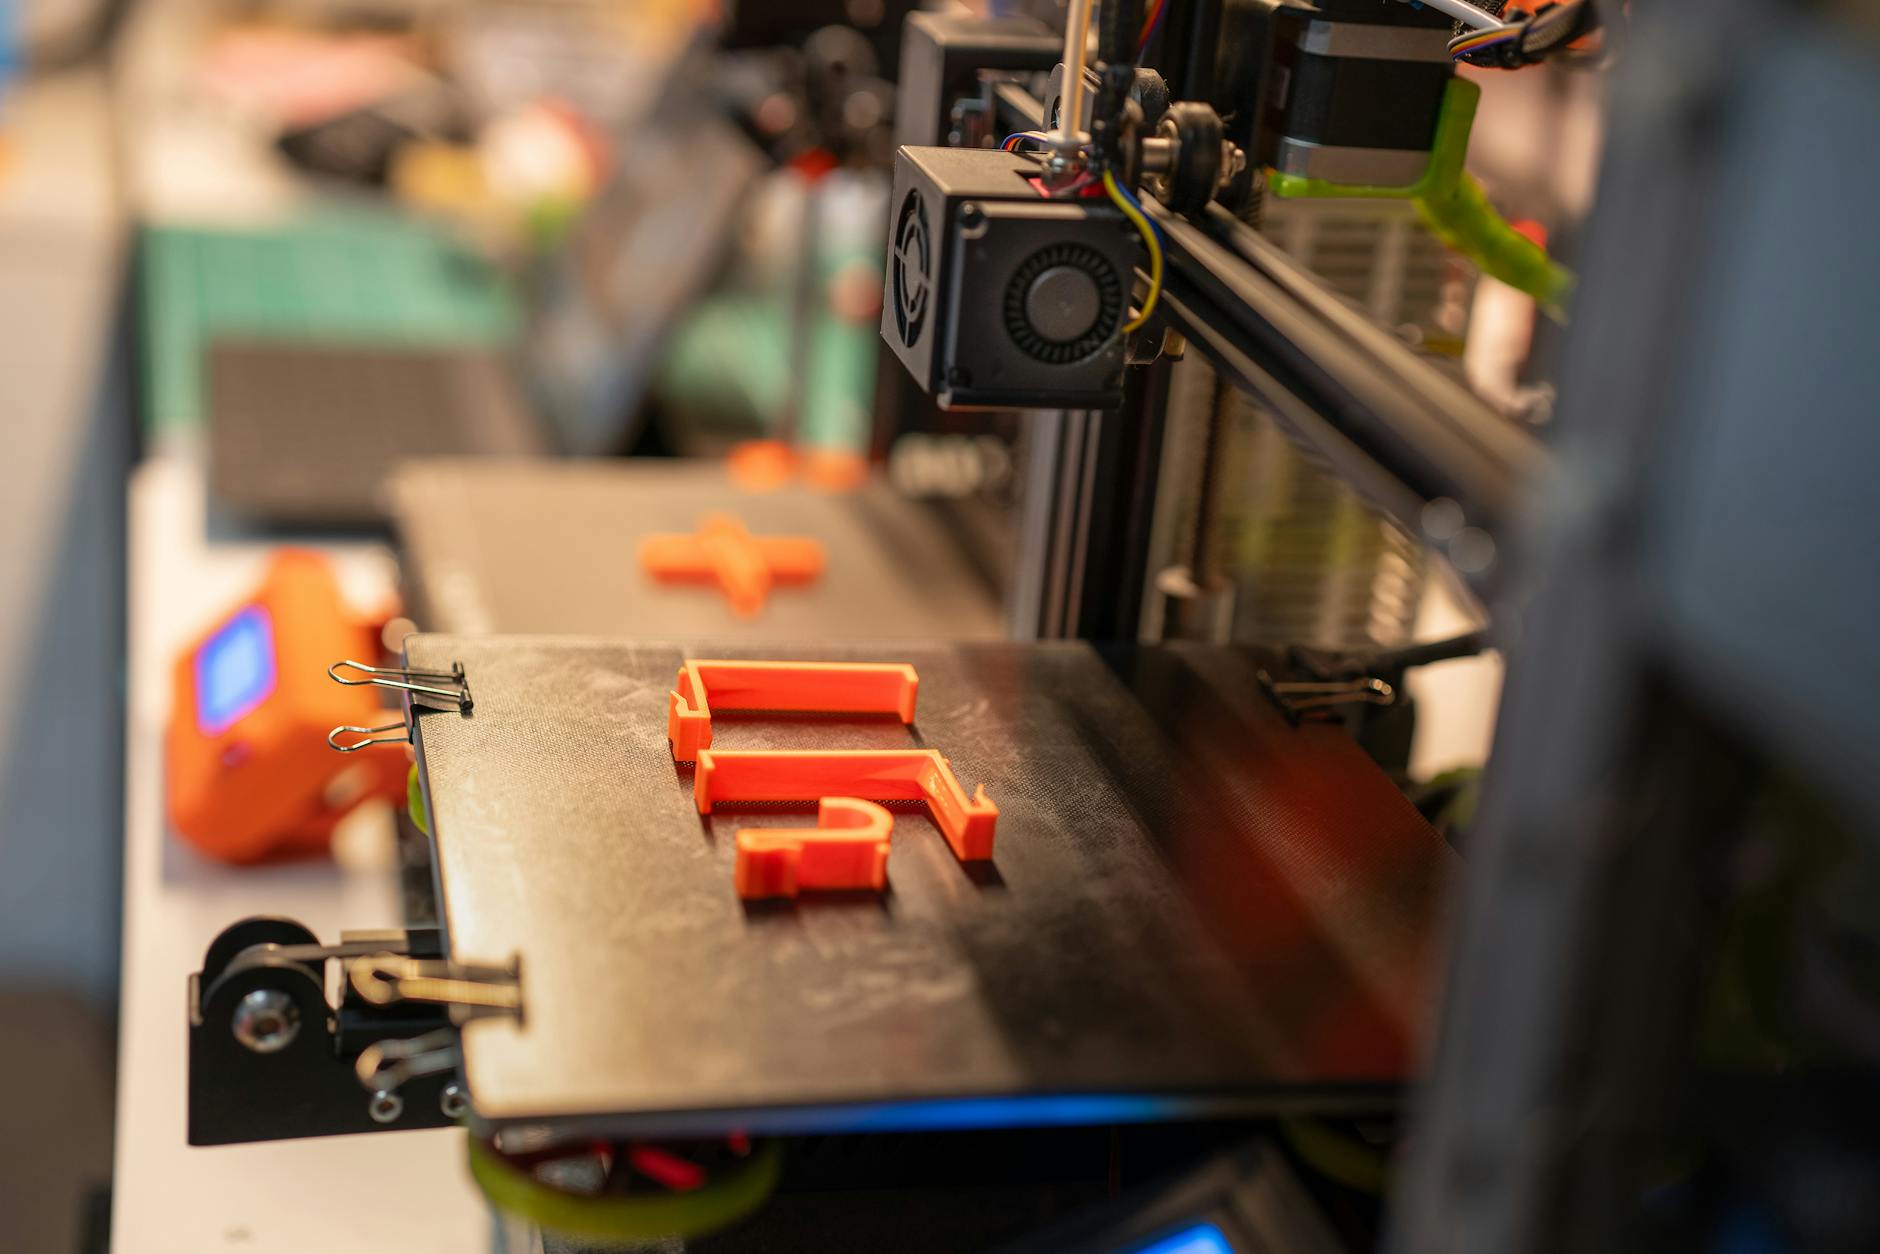
Build Platform: Also known as the print bed, this surface serves as the foundation for creating parts. Often equipped with heated beds, these platforms facilitate better adhesion during printing.
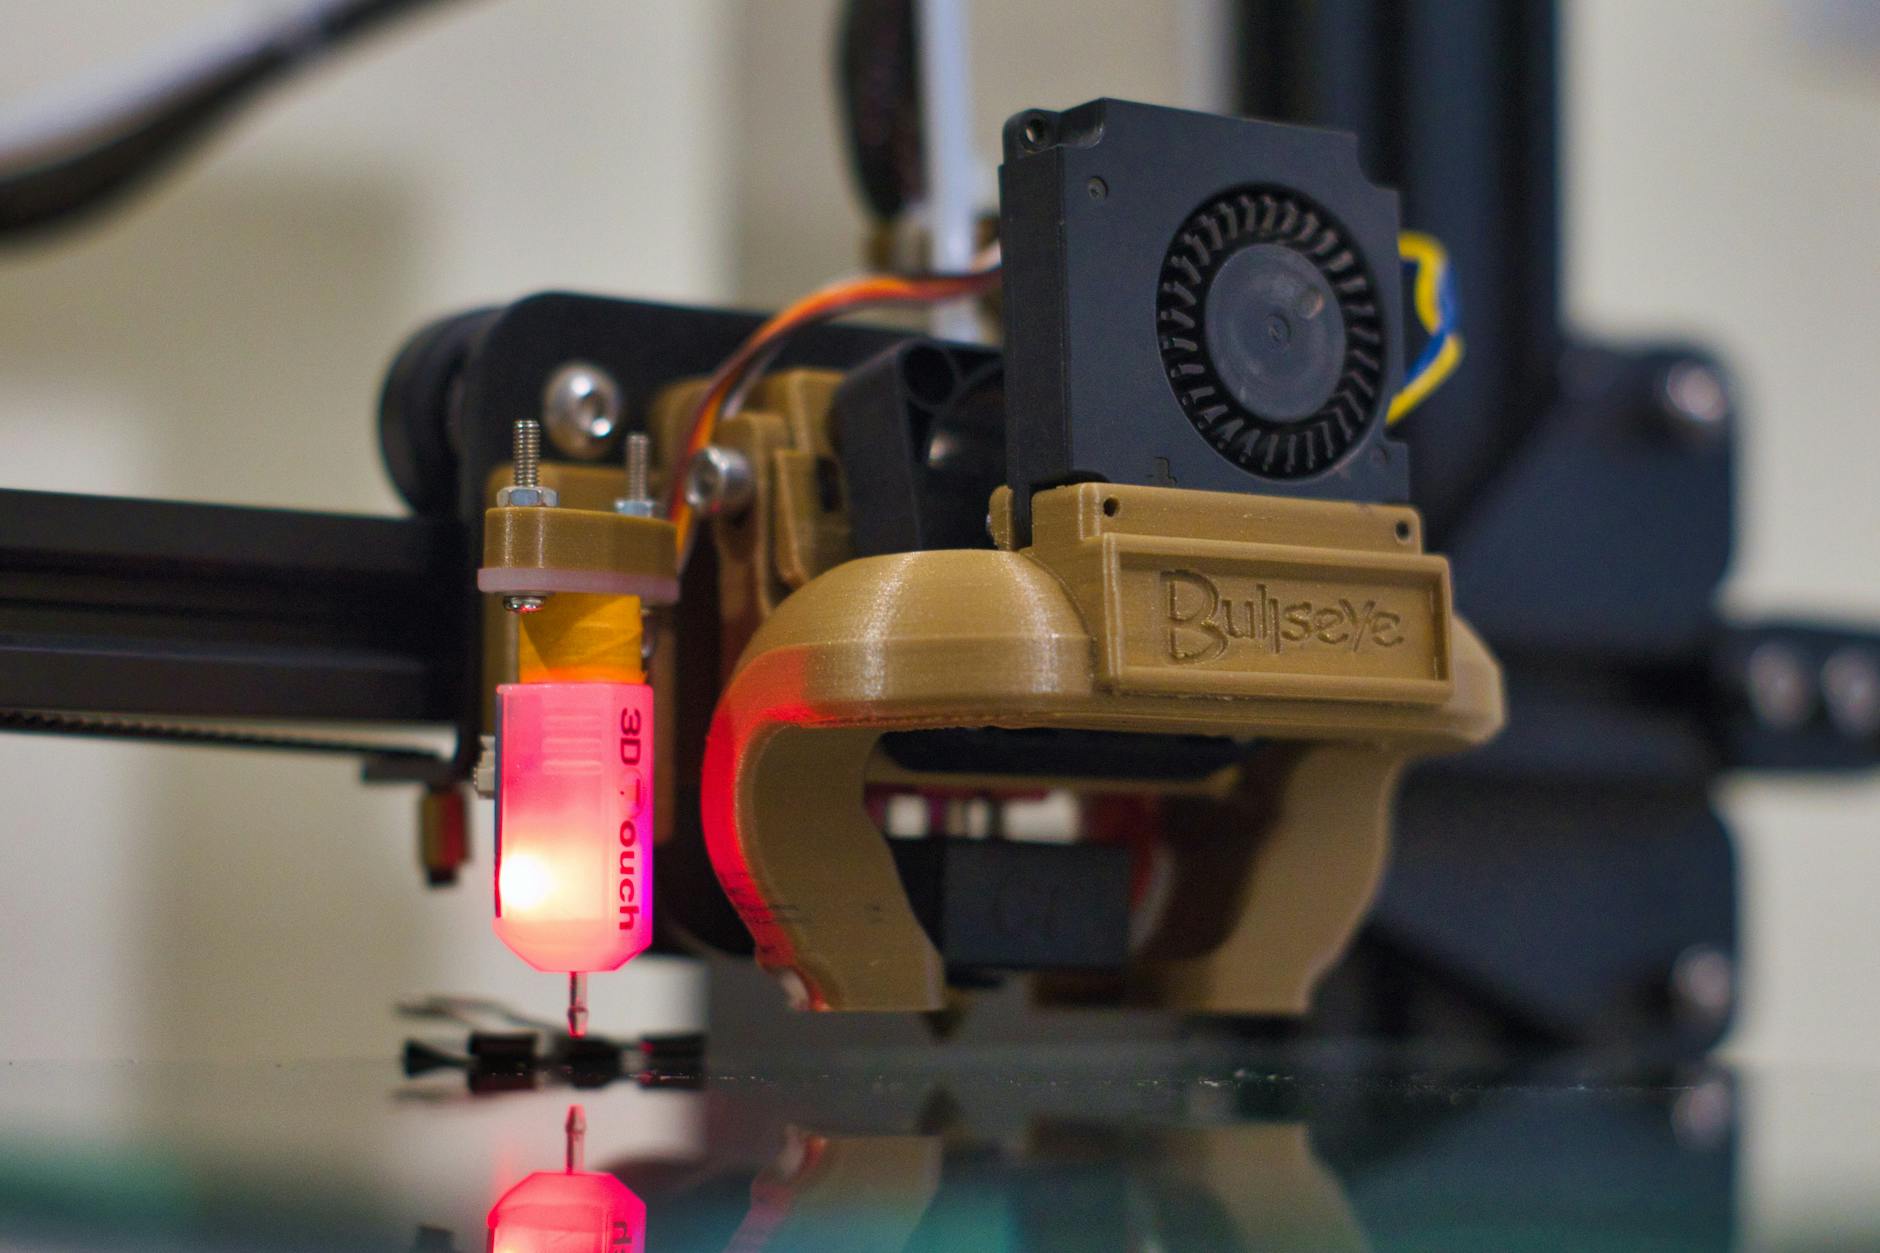
Extruder: Responsible for advancing filament through the printhead, the extruder comprises two main parts: the cold end and the hot end. The cold end features components like motors and gears for filament manipulation, while the hot end contains a heater and nozzle for melting and extruding the filament.
Printhead(s): Most printers have one printhead, although some may feature multiple. Positioned between the cold and hot ends, the printhead includes elements like heatsinks and fans to manage temperature.
Control Interface: Modern printers may boast touchscreens for user interaction, while older models might utilize LCD displays with physical controls like scroll wheels. Additionally, SD card slots and USB ports are common features for file transfer and control.
Print Process Overview
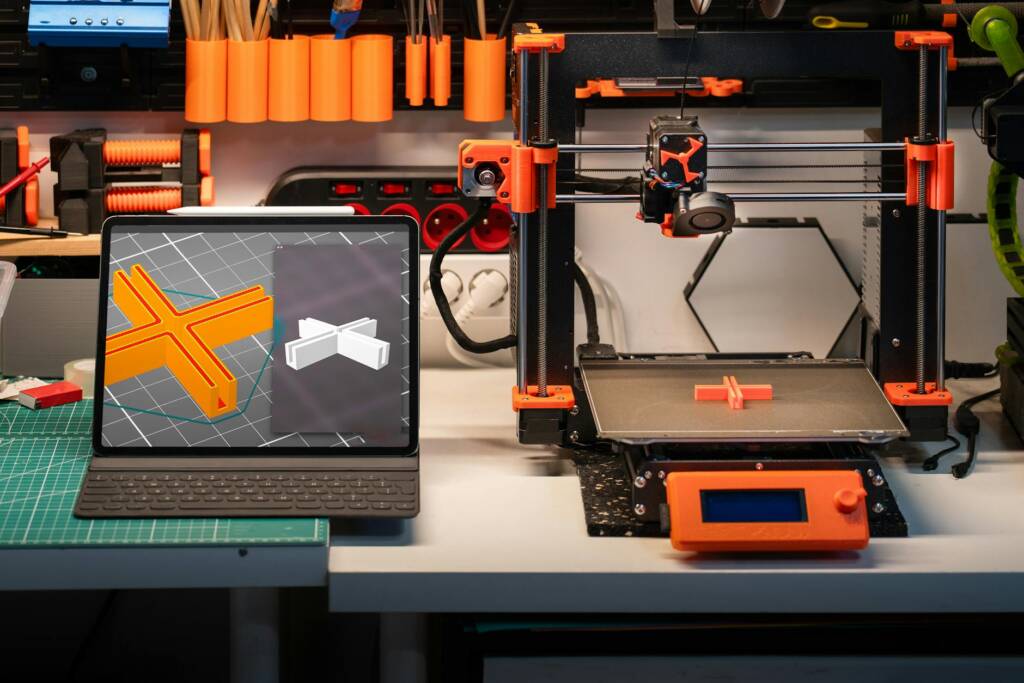
Initiating a print job involves sending a 3D model file to the printer. This file contains instructions regarding temperature settings, printhead movements, and filament extrusion amounts.
Upon commencement, the printer heats the nozzle to the required temperature for filament melting. Once heated, the extruder feeds filament into the hot end, preparing for printing. The printhead then descends, depositing molten filament onto the build surface. As each layer forms and cools, the printhead ascends incrementally along the Z-axis, repeating the process until the model is complete.
Acquiring and Designing 3D Models
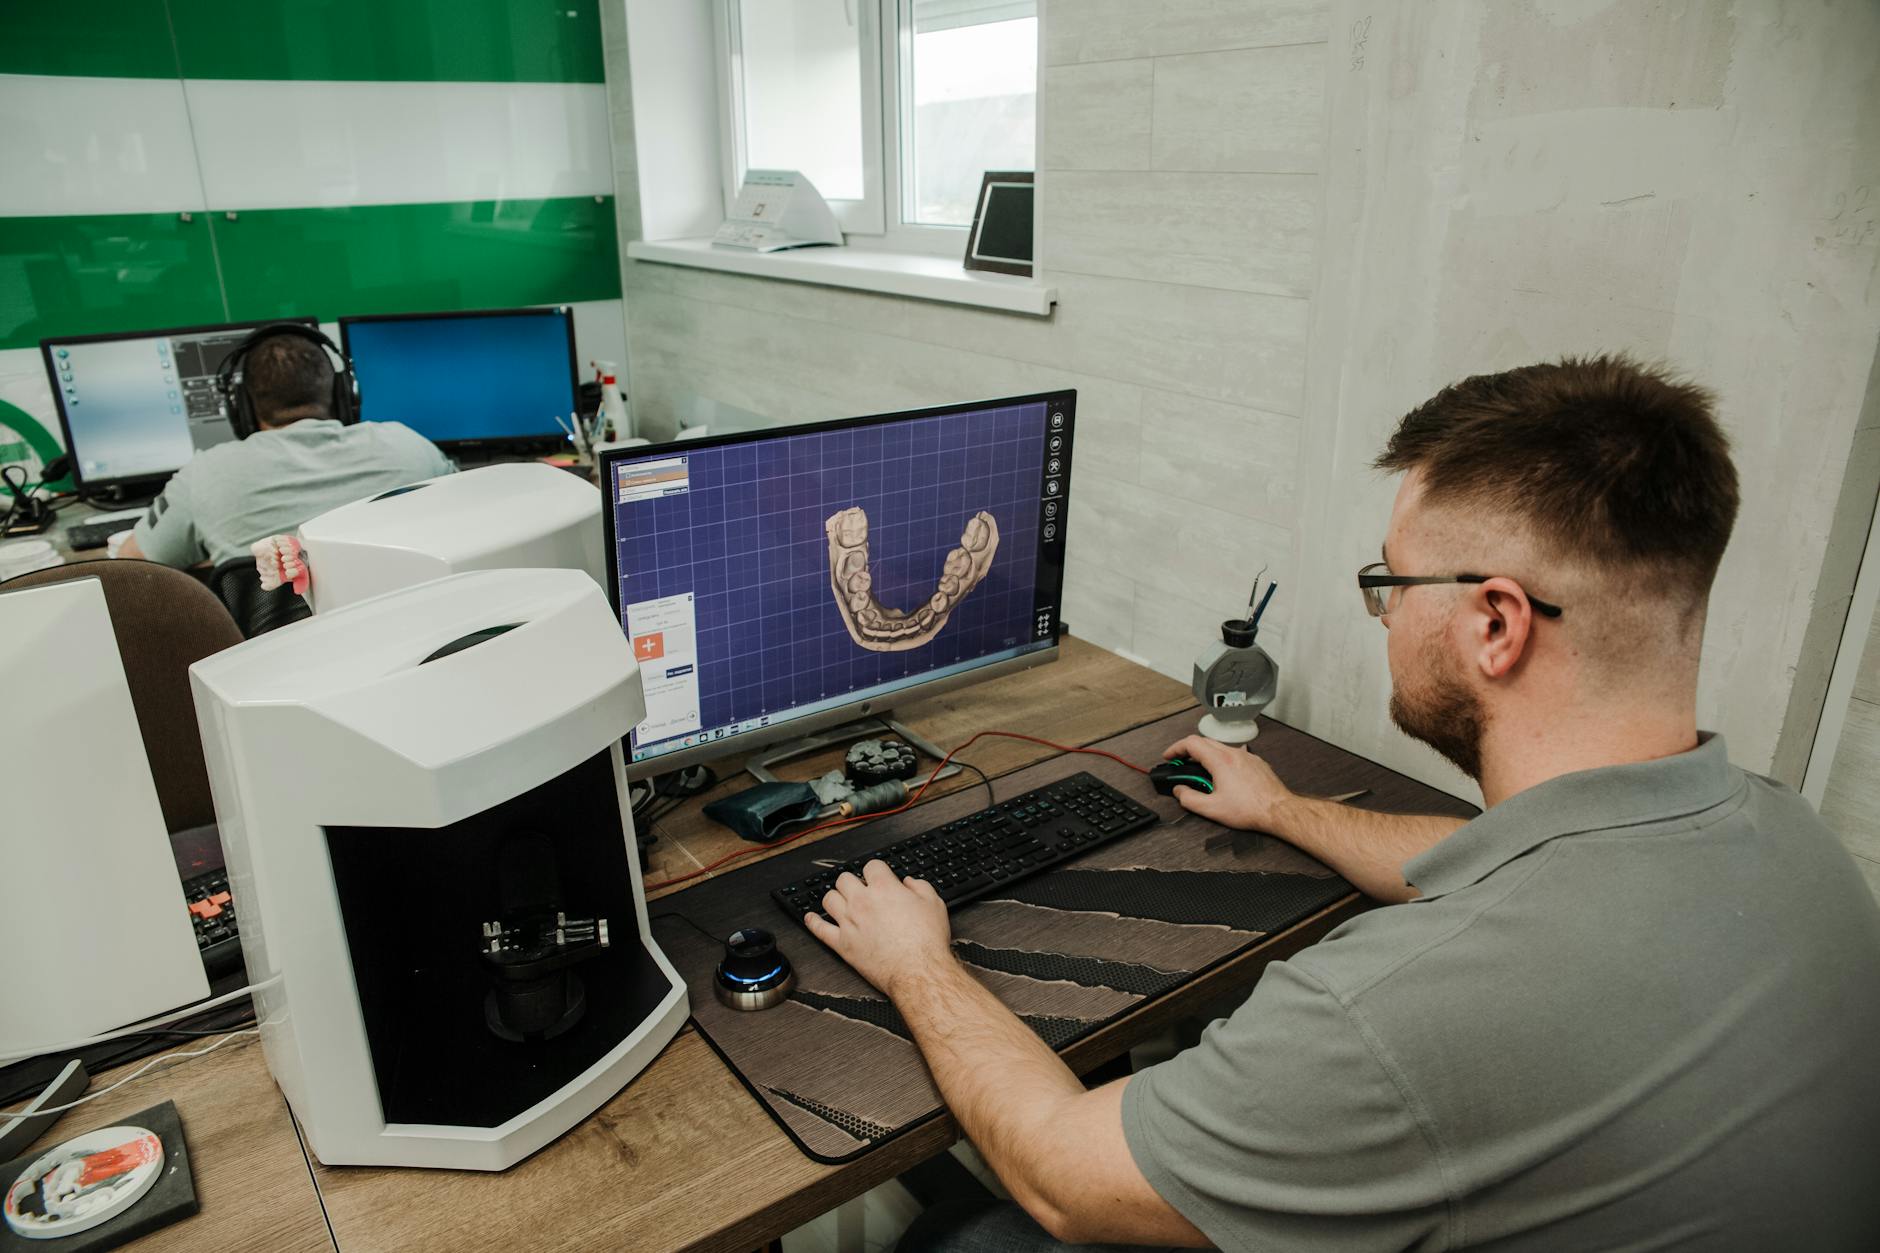
Creating a 3D print begins with obtaining a corresponding 3D model. These models are crafted using specialized software like CAD (computer-aided design) programs. However, for beginners, simpler alternatives like Tinkercad offer accessible options for creating models without extensive experience.
Model files can also be sourced from online repositories like Thingiverse or MyMiniFactory, eliminating the need for modeling expertise.
Preparing Models for Printing
After designing a model, it must be processed using slicing software, which translates the model into machine-readable instructions. Key parameters such as printing speed, temperature, and infill density are configured within the slicer. The output file, known as G-code, guides the printer throughout the printing process.
Supports and Infill
Slicing software analyzes models to determine support requirements, particularly for overhanging sections. Infill, referring to internal part density, can be adjusted to influence print strength, weight, and time. Various infill patterns and densities are available to suit different printing needs.
Printer Setup and Maintenance
Prior to printing, filament loading and bed leveling are essential setup steps. Filament, typically in spool form, is fed into the extruder, while the print bed is adjusted to ensure proper adhesion and layer alignment.
Regular maintenance tasks, such as bed and nozzle cleaning, contribute to consistent print quality and printer longevity. Proper filament storage, shielded from dust and moisture, preserves filament integrity.
Post-Processing and Troubleshooting
Upon completion, printed parts may undergo post-processing steps such as support removal, sanding, painting, or smoothing for desired aesthetics and functionality.
Common printing issues, including warping, stringing, and nozzle jams, can be addressed through troubleshooting techniques such as temperature adjustment and nozzle cleaning.
In conclusion, mastering FDM 3D printing involves understanding its principles, optimizing settings, and maintaining equipment for consistent, high-quality prints.